

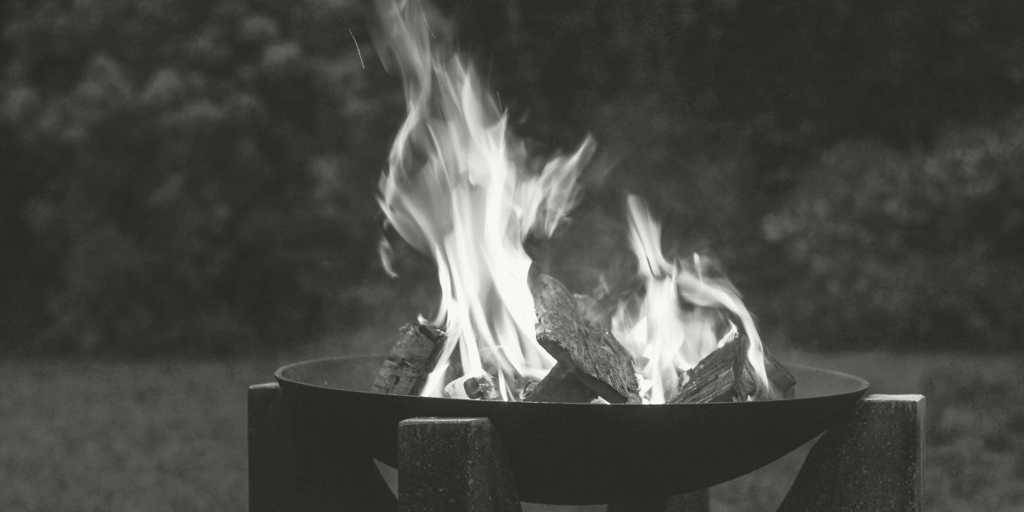
Nothing perks up a cool fall night like sitting next to a cozy fire. Building a fire pit in your backyard means you will not have to abandon your guests or head inside when the weather gets a bit nippy. Building your own fire pit is not as labor intensive or difficult as you might think. Chances are you already have many of the tools – and much of the expertise – needed to do the job.
Plan Out Your Design
It is a good idea to design the fire pit on paper before you actually start laying out the stones. Take a look at your backyard and choose a level spot that is at least 25-30 feet away from any structures or trees. You may also need to check with your local municipality regarding rules for fire pit location.
You can choose any size fire pit that meets your needs. A typical backyard fire pit is approximately 2 feet tall and 5 feet in diameter, but you can make your own pit larger or smaller if you wish.
Lay the Foundation
To create the foundation, start by placing a stake at the center of the planned fire pit. Use that stake to mark the circumference of the circle. Attach a string to the stake, and then measure half of the distance of the proposed pit, i.e. 3 feet for a 6 foot fire pit. You can mark out the circle by holding on to the string, pulling it tight then walking around the stake spraying as you go.
Once you have marked the boundaries of the fire pit, the next step is to dig down to a depth of 6 inches. Then mark an inner circle 12 inches inside the original one. This inner circle will become the wall of the fire pit.
Continue by mixing concrete and water according to the instructions on the bag. Lay the freshly-mixed concrete between the outer and inner circles so that it is level with the ground. Keep building the concrete layers until you are 1 ½ inches below the ground level. Use a trowel to smooth the concrete surface and allow it to harden for 24 hours.
Create the Outer Wall
To lay the outer wall start by mixing up some mortar, then place approximately 2 inches on top of the hardened concrete base. Lay your stones on the mortar one section at a time. Mix in various sizes, shapes and colors of stone for a more natural and attractive look.
After the first few levels of stone are in place, it is time to start laying down the fire bricks that will form the inner wall of the fire pit.
Creating the Inner Wall
Place the fire bricks in place, leveling as you go. Use mortar to fill in any gaps. Measure the distance between the inner and outer walls as you work to make sure the space remains consistent around the entire perimeter.
Continue to lay the stones against the outside wall and the bricks along the interior wall. You will slowly see the walls coming up and getting closer to ground level. Scrape away any excess mortar as you work.
Add the Finishing Touches
When you are finished laying the bricks and stones, you will want to give your fire pit some finishing touches. Start by laying down a 1 inch layer of mortar, then lay out the stones you have chosen for the top of the structure. The stones you choose should create an even surface around the entire perimeter of the fire pit. Add mortar as needed between the stones, and then scrape away any excess for a more polished look.
You can finish the fire pit further by brushing down the stones with a paintbrush to remove any debris. A gentle spray with a garden hose will remove any additional dust and dirt and make the stones look great.
You can give the finished fire pit a more polished look by spray painting the interior bricks with a product designed for stoves. This kind of paint is resistant to heat – do not use standard spray paint. When the paint has dried, finish the pit by laying down a layer of river rocks on top of the base.